Blown Film Troubleshooting: 9 Common Problems, Causes and Fixes
A quick reference table first, then each problem in detail: what you see on the film, what usually causes it and what to check before you touch the settings.
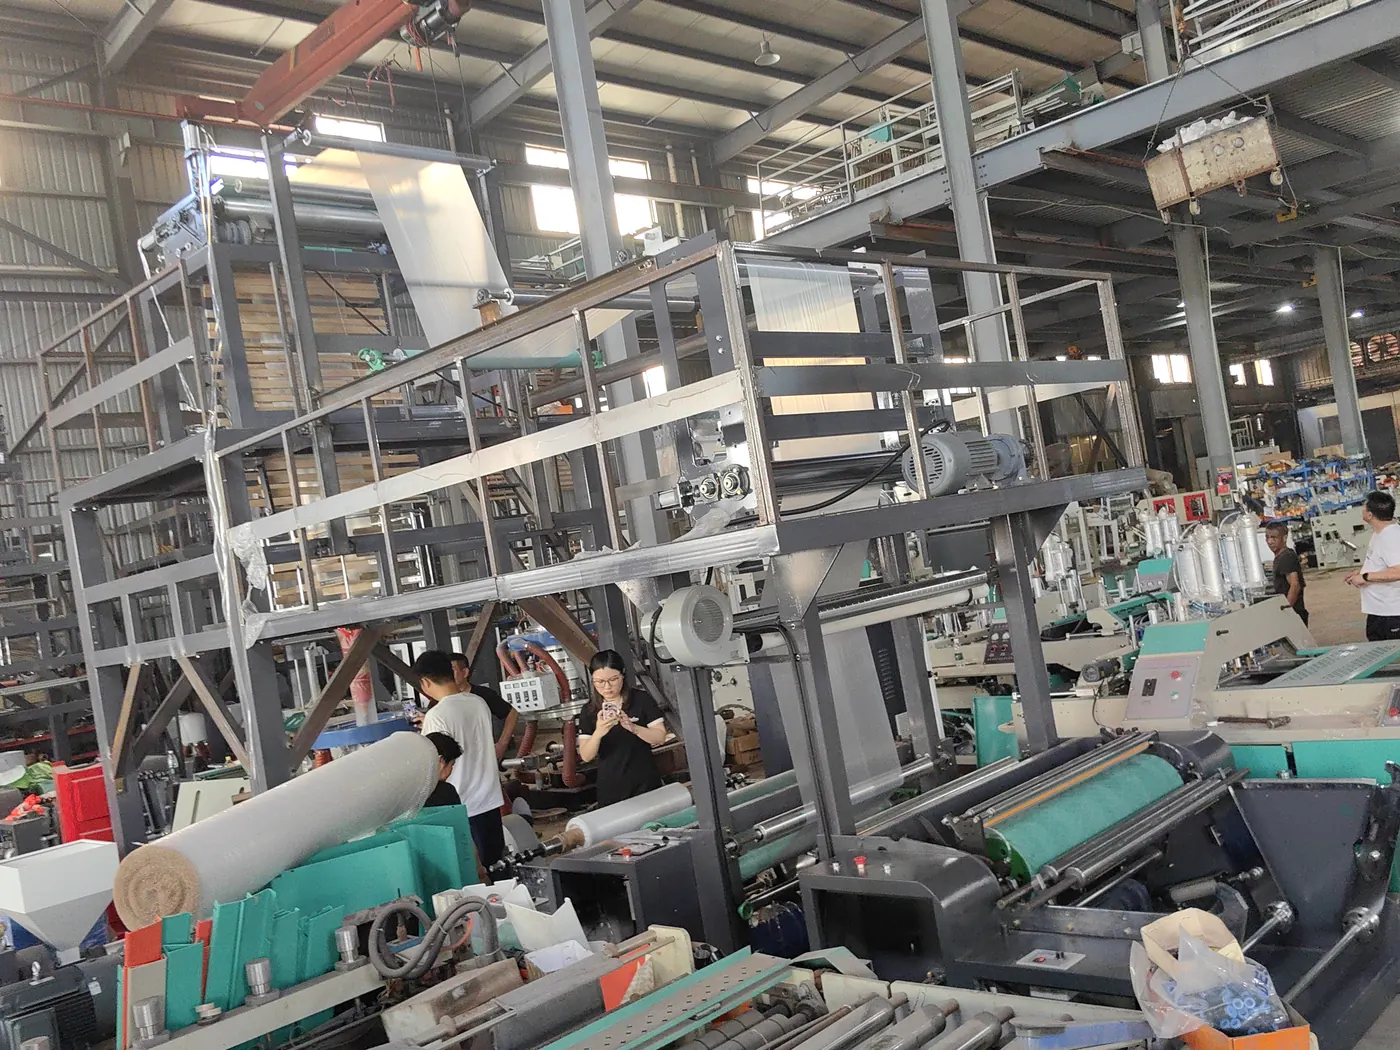
Blown film troubleshooting starts with one question: is the problem in the melt, in the cooling or in the take-off? Gels, black specks and melt fracture come from the extruder and die. Bubble instability, gauge bands and haze usually come from cooling. Wrinkles and blocking are mostly settled at the nip rollers and the winder.
This guide covers the nine problems we hear about most from film and bag producers. Use the table to find the likely cause, then read the section for the checks. It applies to single-layer and 3-layer lines running HDPE, LDPE and LLDPE.
Blown film troubleshooting chart: problem, cause, first check
Each row lists the cause behind most cases, not every possible cause. Start with the check in the last column, because it is the fastest one to rule out.
| Problem | What you see | Most likely cause | Check first |
|---|---|---|---|
| Bubble instability | Bubble sways, breathes or flutters | Uneven cooling, drafts, output surging | Close doors and windows, then watch the air ring |
| Gauge variation | Thick and thin bands around the roll | Die gap out of center, uneven air ring | Measure thickness around the film, find the thin side |
| Gels and fish eyes | Small hard spots, pinholes | Un-melted or degraded resin, broken screen | Screen pack and head pressure |
| Melt fracture | Rough “sharkskin” surface | Melt too cold or die gap too narrow | Die temperature and die gap |
| Wrinkles | Creases before or after the nip | Unstable bubble, misaligned collapsing frame | Bubble stability, then frame and nip alignment |
| Blocking | Layers stick, bags hard to open | Film still warm at winding, low anti-block | Cooling and winding tension |
| Haze | Milky or uneven clarity | Slow or uneven cooling, wrong resin | Air ring and resin type |
| Black specks | Black or yellow dots | Degraded material in barrel or die | Purge, then clean the die |
| Low output, high amps | Less kg/h, motor current up | Clogged screen, worn screw | Change the screen pack |
Change one setting at a time and wait for the line to settle before you judge the result. Before the first change, write down every zone temperature, the head pressure and the main motor current. If the fix makes things worse, you can go straight back.
Before you adjust anything
Many film problems disappear once three outside causes are removed. Rule them out before you open the die or change the recipe.
- Air drafts. An open door, a fan or a forklift passing by can move the bubble and cool one side faster.
- Wet or dirty resin. Moisture leaves bubbles and streaks in the film, and dust or fluff from the hopper turns into gels.
- Leftover material. After a color or resin change, old material in the barrel and die keeps coming out for a while.
1. Bubble instability
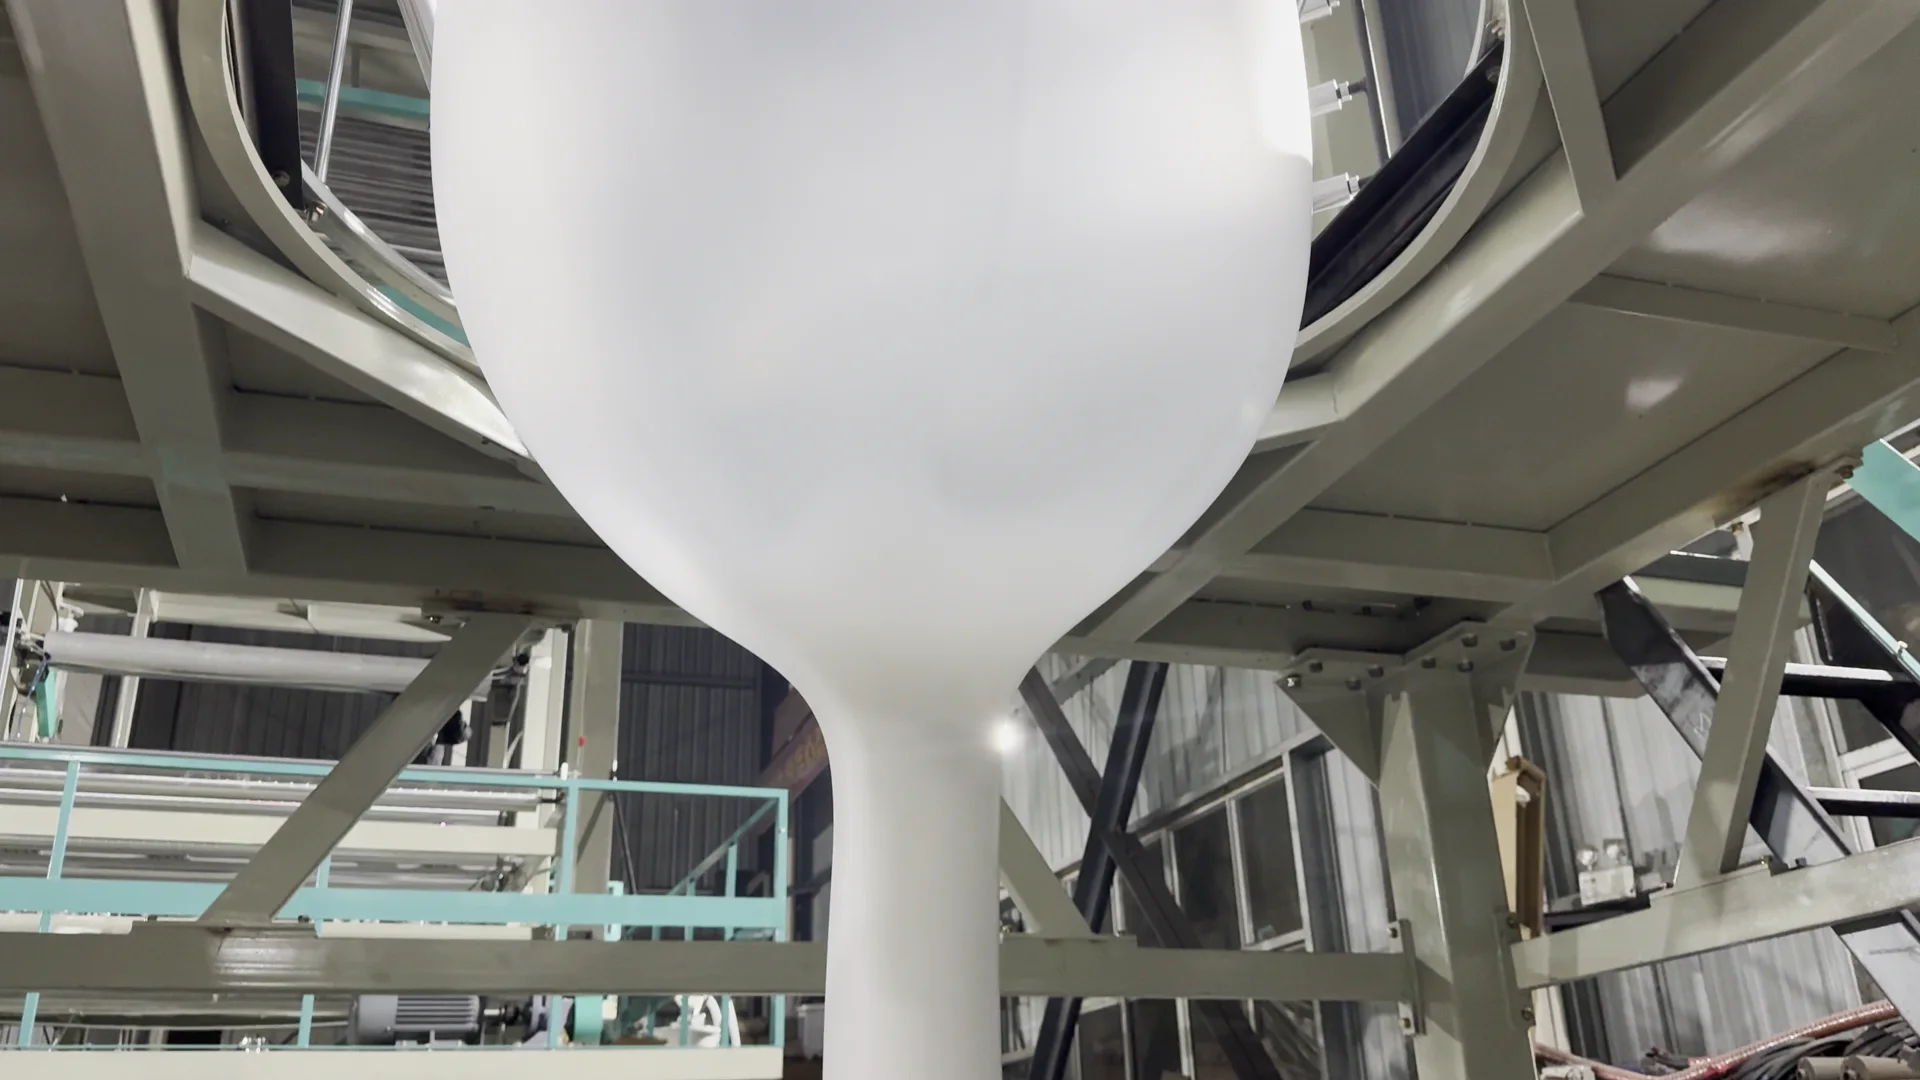
An unstable bubble sways from side to side, breathes up and down or flutters just above the air ring. It is the root of many other defects, because a moving bubble cools unevenly. The film then shows gauge bands and wrinkles further up the tower.
Start with drafts and the air ring. Too much air velocity makes the bubble flutter, and a blocked or off-center air ring cools one side faster. Then check the melt. A melt that is too hot is too weak to hold the bubble, and an extruder that surges changes the output every few seconds. LLDPE gives a less stable bubble than LDPE, as we explain in our LLDPE vs LDPE guide.
2. Gauge variation and thickness bands
Gauge variation means the film is thicker on one side of the tube than the other. On the roll, it shows up as hard ridges and soft spots. The cause is usually an uneven die gap, a heater that has failed in one die zone or an air ring that cools one side harder.
Find the thin spot first. Then adjust the die gap with the adjusting bolts around the die: open the gap on the thin side and close it on the thick side. This is how we set gauge on our own lines. Also check every die heater, clean the air ring and confirm it sits level and centered under the bubble.
Mark eight points around the lay-flat film, every 45 degrees of the tube, and measure each one with a micrometer. Mark the thin points on the die with chalk before you turn any bolt. Turn the bolts in small steps and measure again after the film has run for a few minutes.
3. Gels, fish eyes and pinholes
Gels are small hard spots in the film, and pinholes are tiny holes where a gel or a contaminant broke through. Most gels are resin that did not melt. They come from resin with very high molecular weight, from catalyst residue in poor-quality resin, from dirt in the material or from a broken screen.
Check the screen pack first and replace it if it is torn or clogged. If gels persist, raise the barrel temperatures slightly to melt the resin better, or lower them if the specks look burnt. Keep the hopper covered and the resin clean. When the problem follows one batch of resin, ask the supplier for a different lot.
4. Melt fracture (sharkskin)
Melt fracture gives the film a rough, matte surface, like orange peel or sharkskin. It appears when the melt is pushed through the die lips too fast for its temperature. It is common with LLDPE, which resists flow more than LDPE.
Raise the melt and die lip temperatures, within the resin maker’s range. If the line allows it, open the die gap. When neither is enough, resin suppliers offer a polymer processing additive that coats the die and lets the melt slip through.
5. Wrinkles
Wrinkles form when one part of the film travels faster or is pulled harder than the rest. Wrinkles before the nip rollers usually trace back to an unstable bubble or uneven thickness. Wrinkles after the nip point to the rollers, the tension or the winder.
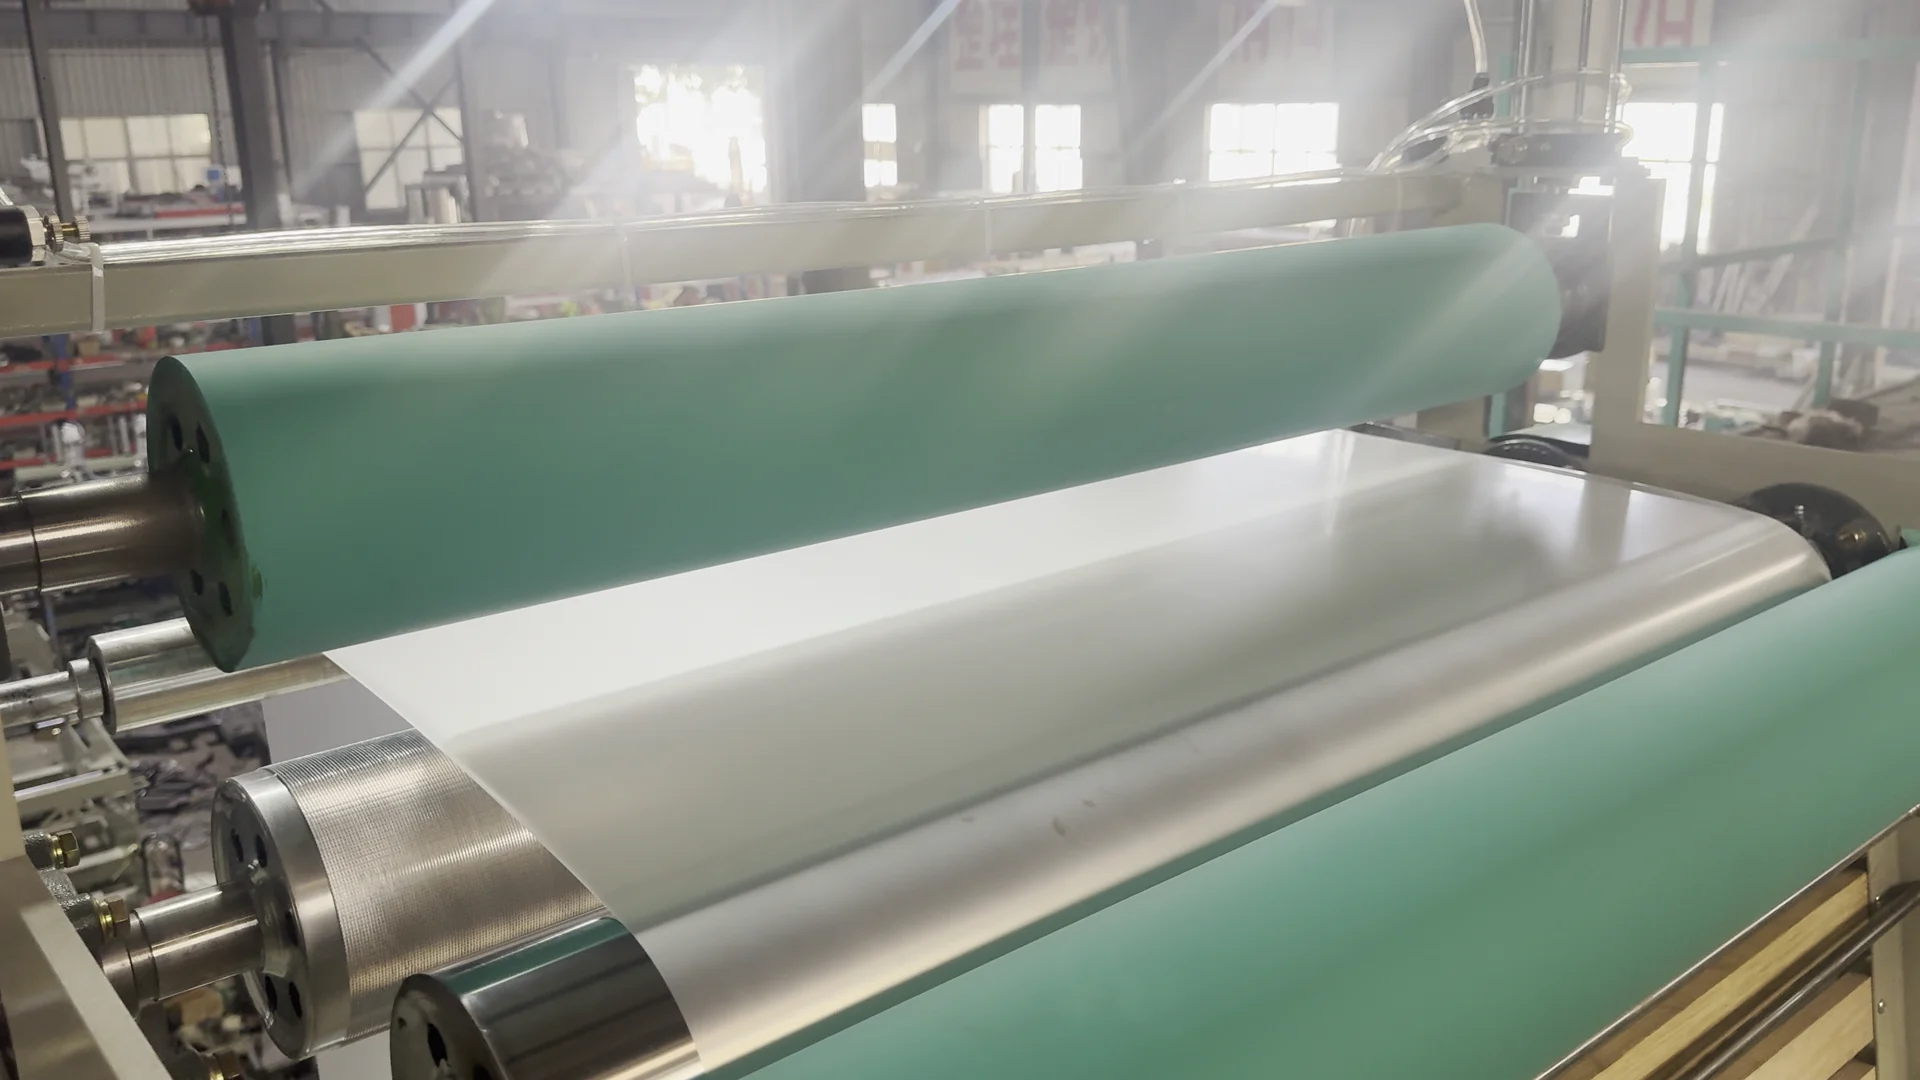
Fix the bubble and the gauge first. Then check that the die, the bubble cage, the collapsing frame and the nip rollers are all centered on one line. Set even pressure on both ends of the nip roller. If wrinkles form at the edges, close the collapsing frame angle a little. If they form in the center, open it.
6. Blocking
Blocking means the two layers of the tube stick together, so bags are hard to open. The film reached the nip or the winder while it was still warm, or the roll was wound too tight. Low anti-block additive in the resin makes it worse, especially in soft LDPE and LLDPE film.
Give the film more cooling: more air, a lower line speed or cooler rollers. Lower the winding tension. If the film still blocks, add an anti-block masterbatch, or ask the resin supplier for a grade that already contains it.
7. Haze and poor clarity
Hazy film looks milky instead of clear, or clear in some places and cloudy in others. Slow cooling gives the polymer time to form large crystals that scatter light. Uneven haze around the tube points to an air ring that cools one side differently.
Speed up cooling and make it even. Clean the air ring, check that it is centered and look for blocked air hoses. Also check the resin before you blame the line. HDPE film is naturally translucent, so a customer who wants a clear bag needs LDPE or LLDPE. Our HDPE vs LDPE guide covers the difference.
8. Black specks and burnt material
Black or yellow specks are degraded polymer that broke loose from the screw, the barrel or the die. Material burns when it stays too long in a hot spot. This is common after a long stop with the heaters still on, or when the temperature is set too high for the resin.
Purge the line with clean resin or a purging compound. If the specks continue, the die and screw need cleaning. Before a long stop, lower the temperatures so the material does not sit and burn.
9. Low output and high motor current
When the line makes fewer kilograms per hour while the main motor draws more current, something is blocking the flow. The usual cause is a clogged screen pack. Head pressure climbs as the screen fills, and output falls at the same screw speed.
Change the screen first. If output stays low with a new screen, check the temperature settings and the feed from the hopper. On a line that has run for many years, measure the screw and barrel for wear, because a worn screw pushes less material per turn.
Keep a log of head pressure and main motor current at the same output for each film you make. Head pressure that rises day by day at a steady output means the screen is filling. You will see it in the log before you see gels or lost output.
What is the frost line, and why does it matter?
The frost line is the ring on the bubble where the film turns from a clear melt to a hazy solid. Below it, the melt is still stretching. Above it, the film has set and its thickness no longer changes. Its height depends on the output and on how much cooling the air ring gives.
A frost line that sits higher on one side than the other means one side cooled more slowly and stretched more. That side comes out thinner. So an uneven frost line is often the first visible sign of gauge variation, before you measure anything.
Daily and weekly checks that prevent most blown film problems
Most of the problems above build up slowly. A short routine catches them early. These are the checks we recommend to our own customers:
| Part | What to check |
|---|---|
| Material loader | Clean the filter and check the vacuum line for air leaks. |
| Extruder | Watch head pressure and main motor current, and change the screen when pressure rises. |
| Gearbox, screw and motor | Listen for new noise and feel for overheating. |
| Inverter and motor | Check frequency, current and temperature, and clean off dust on a schedule. |
| Thermocouples | Compare the controller reading with a handheld thermometer, zone by zone. |
| Machine level | Confirm the extruder stands level and in line with the die. |
Temperature settings depend on the resin and the machine, so take them from the resin data sheet. As one example from our own notes, on an 80 mm blown film extruder the first barrel zone usually runs at about 170 °C, with the following zones set higher. The fourth zone holds the screen. A finer screen gives smoother film but fills up faster.
When to call the machine supplier
Most blown film troubleshooting can be done by your own operators with the checks above. Call the supplier when a problem returns after every fix, when a heater zone will not reach its set point or when you hear new noise from the gearbox. Our customers start with a video call, and when a fault cannot be solved remotely we can send a technician. Travel costs are paid by the buyer.
Before you call, record a 30-second video of the bubble from the die to the frost line, and take a photo of the defect against the light. Add the zone temperatures, head pressure and motor current. With those four things, most problems can be diagnosed in the first call.
Frequently asked questions
What are some common problems with blown film extrusion?
The most common problems are bubble instability, gauge variation, gels and fish eyes, melt fracture, wrinkles, blocking, haze, black specks and low output. Most of them come from three places: the melt in the extruder and die, the cooling from the air ring, and the take-off at the nip rollers and winder.
What are the most common defects associated with extrusion?
In plastic extrusion in general, the most common defects are gels and un-melted particles, black specks from degraded material, surface roughness from melt fracture, thickness variation and bubbles or streaks from moisture. In blown film, cooling-related defects such as an unstable bubble, haze and wrinkles are added to that list.
What is the difference between cast and blown film?
Blown film is extruded through a round die and inflated into a bubble, cooled by air, which gives balanced strength in both directions. Cast film is extruded through a flat die onto a chilled roll, which cools it fast and gives better clarity and thickness control. Most plastic bags are made from blown film.
What is the process of blown film production?
Resin pellets are melted in an extruder and pushed through a round die to form a thin tube. Air inflates the tube into a bubble, and an air ring cools it from outside. Nip rollers at the top flatten the bubble into lay-flat film, which is wound into rolls for printing or bag making.
What is frost line height in blown film?
Frost line height is the distance from the die to the point where the film turns from a clear melt to a hazy solid. Below it, the film is still stretching and its thickness can change. It depends on output and cooling, and an uneven frost line is a common sign of uneven thickness.
What causes wrinkles in blown film?
Wrinkles are caused by part of the film being pulled faster or harder than the rest. Common causes are an unstable bubble, uneven thickness, a collapsing frame or nip roller that is not centered, and uneven nip pressure. Fix bubble stability and gauge first, then check alignment and roller pressure.
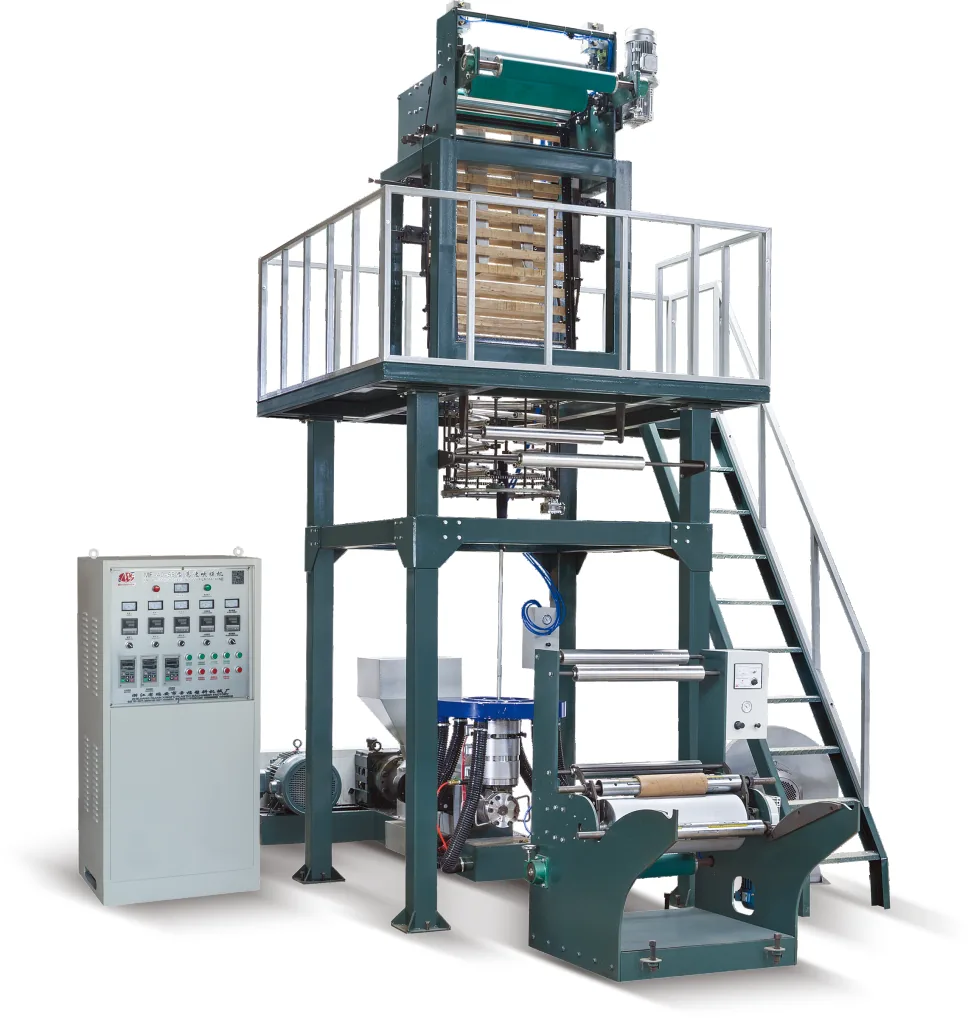
For the full process from resin to bag, read how plastic bags are made, or see our blown film machines. Fighting a defect you cannot place? Write to us with a photo of the film and a short video of the bubble. We reply within 24 hours.